We know—it sounds intense. Cutting your knitting? On purpose? But once you understand how steeking works and why it’s used, it opens up a whole new set of possibilities in your projects.
In this newsletter, we’re breaking down what steeking actually is, how to prepare for it, and how to make that first snip with confidence.
We’ve also got yarn recommendations that make steeking safer and easier, plus a little shoutout to the Tiger Lily KAL crew, who are gearing up to steek soon—and whose projects are already looking incredible.
If you’ve ever felt curious but nervous about steeking, this is a great place to start.
What is Steeking?
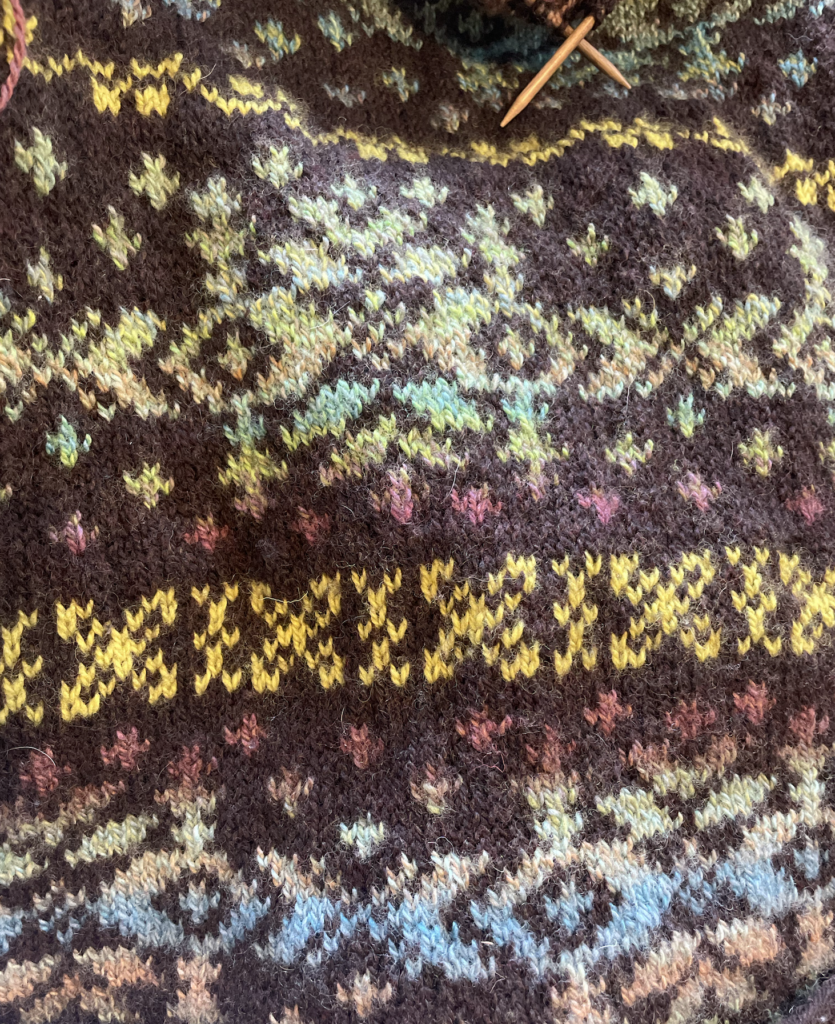
Steeking is a technique used to cut into knitted fabric—usually colorwork knit in the round—to open it up.
Instead of knitting flat and purling every other row, you can work in the round (where colorwork is easier), then reinforce and cut the fabric to shape your garment—often for armholes, necklines, or turning a pullover into a cardigan.
Why Steek?
It’s a pretty popular opinion that knitting colorwork flat is annoying.
Steeking lets you work in the round with cleaner tension, neater floats, and fewer ends to weave in.
It’s faster, too—and opens the door to more advanced construction techniques without making the knitting itself harder.
Types of Steeks
- Reinforced Steeks: These involve securing the steek stitches before you cut—usually with a crochet slip stitch, a sewn seam (by hand or machine), or needle felting, which works well on sticky, non-superwash wool.
- Unreinforced Steeks: Some yarns are sticky enough to hold together on their own, but we don’t recommend this approach if you’re new to steeking (or feeling even a little nervous).
How to Prep for Steeking
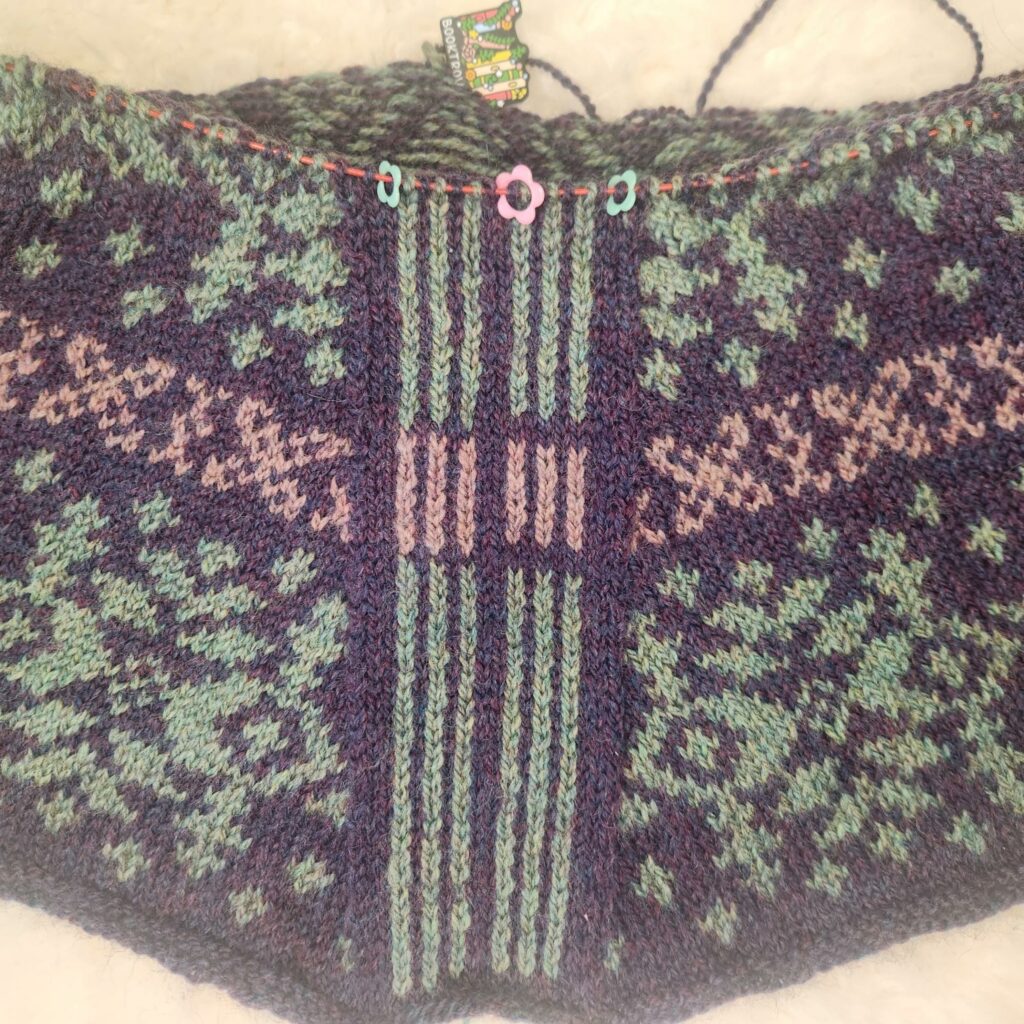
- Add steek stitches: Most patterns include a panel of extra stitches where the steek will happen—usually 5–7 stitches wide. If your pattern doesn’t include them, you can add them manually.
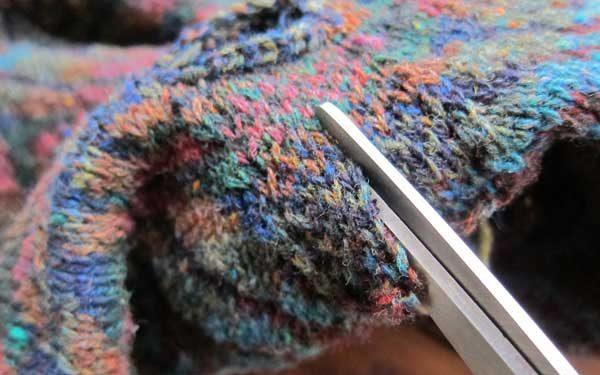
- Use woolly, grippy yarn: Fibers like wool tend to hold together better than smoother yarns, making the whole process feel more secure.
- Plan your colors: When working with colorwork, try to avoid rapid color changes right at the steek—it makes reinforcing and cutting much easier.
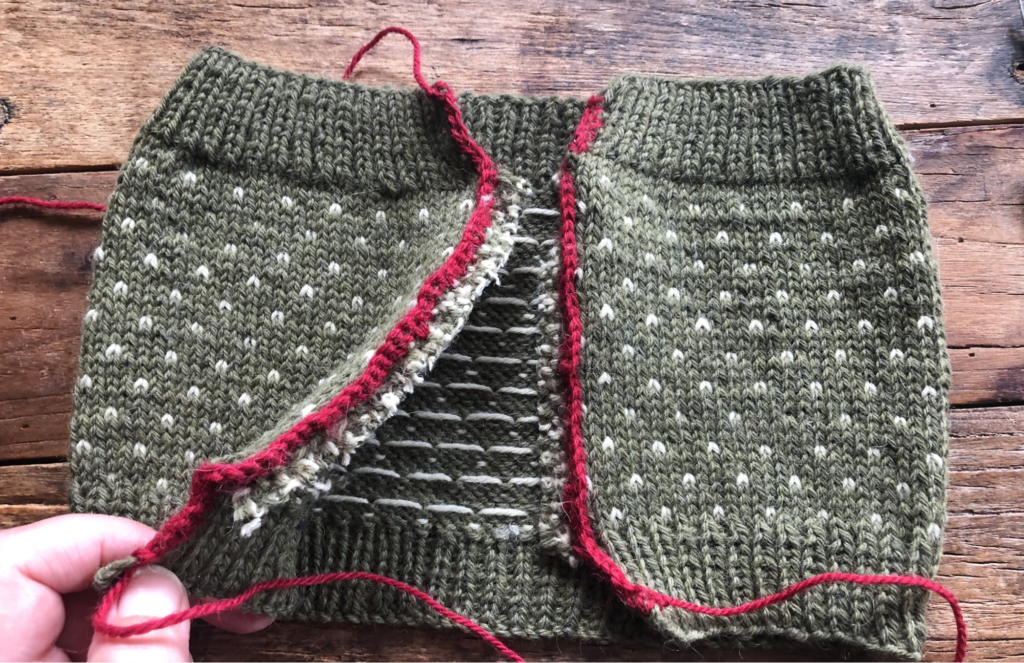
How to Steek Safely
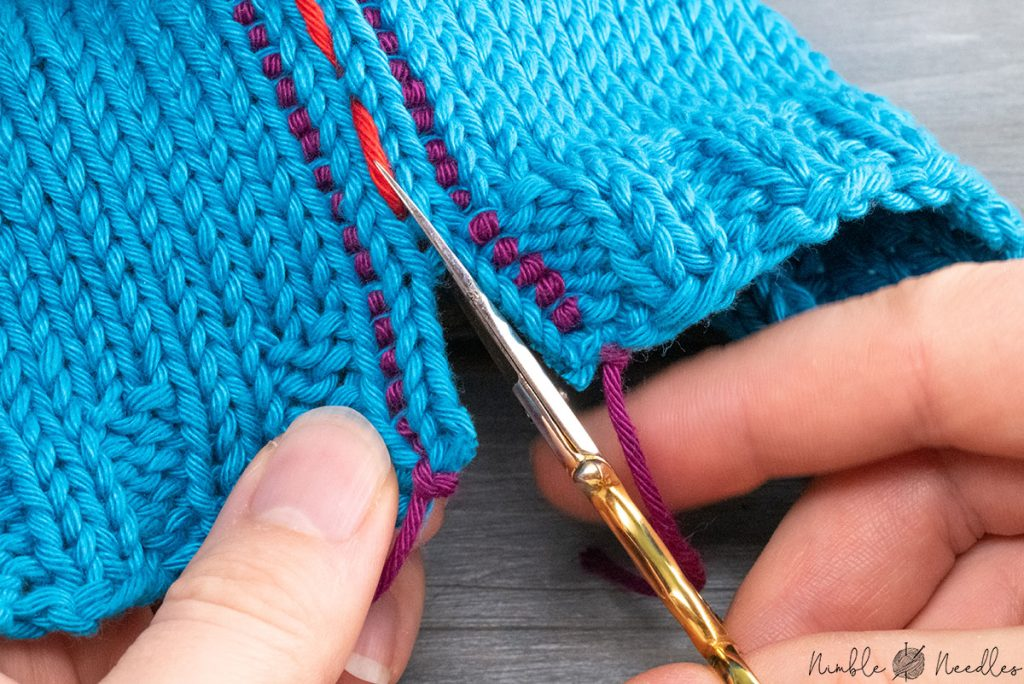
- Reinforce both sides of the center steek stitch—by sewing, crocheting, or lightly needle-felting the edges if you’re using a wool that responds well to it.
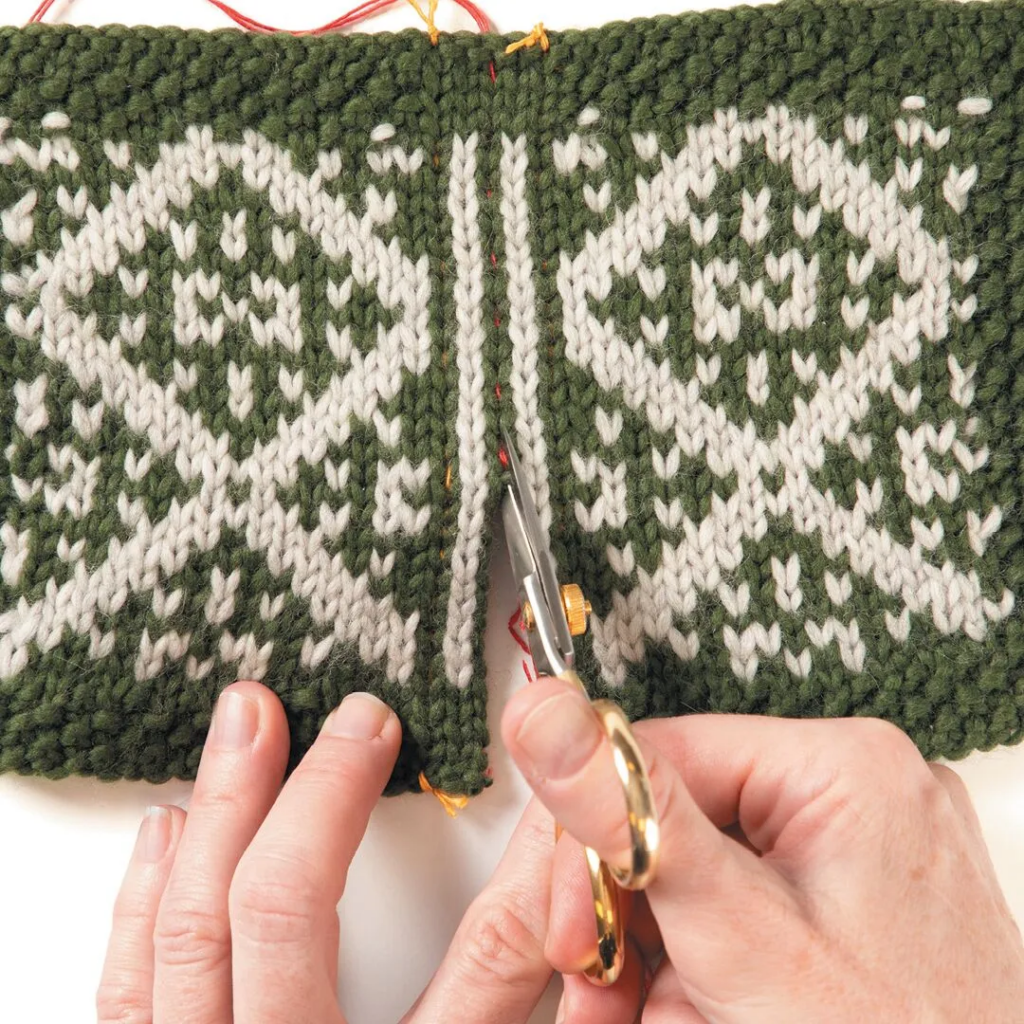
- Make sure you’re cutting the right spot—double-check your center stitch.
- Use small, sharp scissors and good lighting.
- Take your time. No rush, no pressure.
- Once it’s cut, fold back the edges and tack them down or pick up stitches for edging.
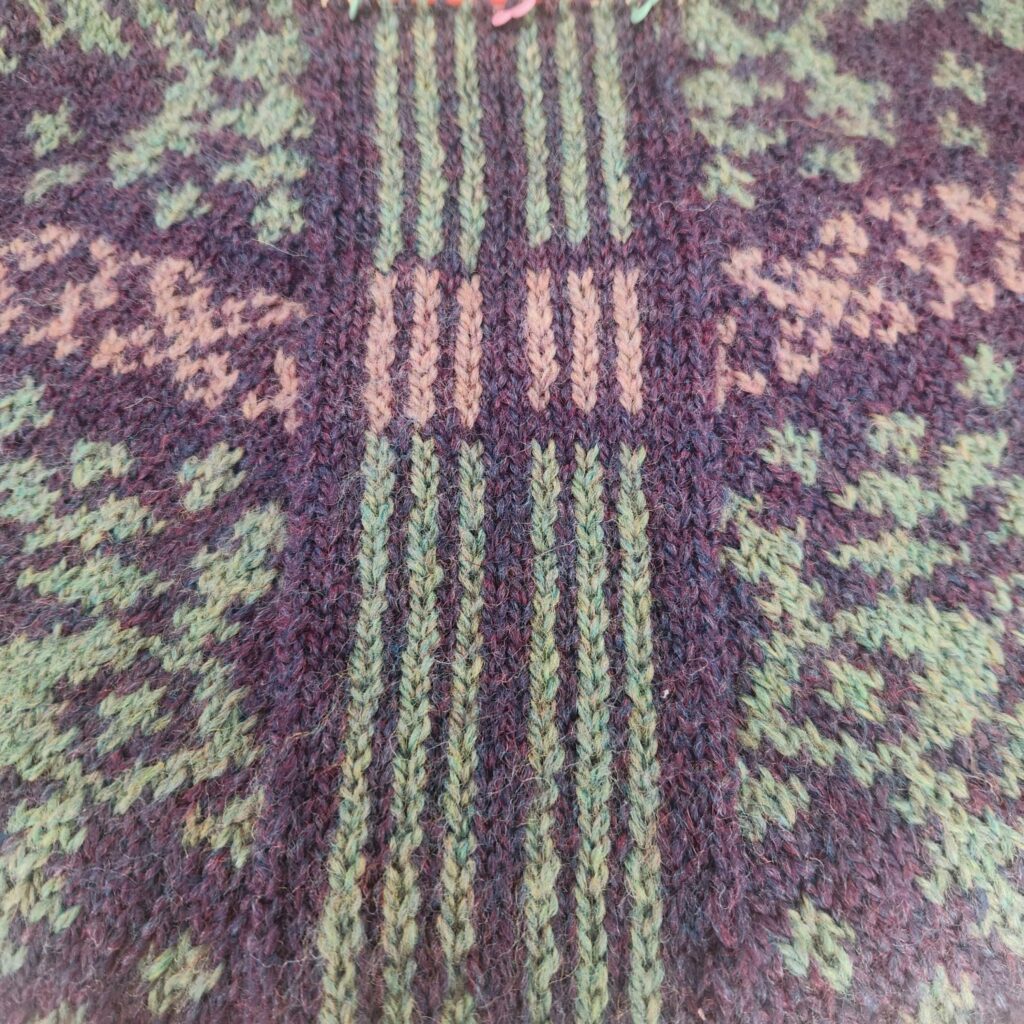
Tiger Lily KAL Shoutout
The official KAL may have ended, but a lot of our Tiger Lily group is still working on their shawls during Open Knit Night—and we love seeing their progress.
It’s a big project with a big payoff, and tackling steeking in a room full of support (and cheering) makes the whole process feel a lot less intimidating.
If you’re curious about trying it yourself, come hang out. The energy in the room makes a difference.
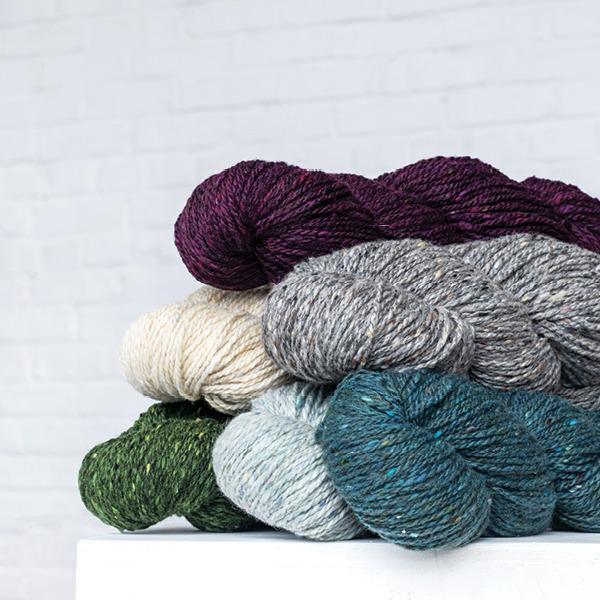
Yarns That Make Steeking Easier
Not all yarns are great for steeking—but these are.
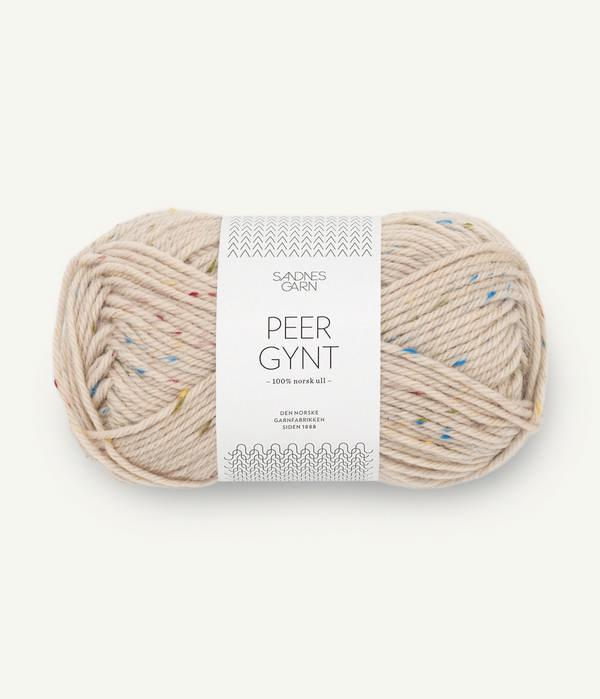
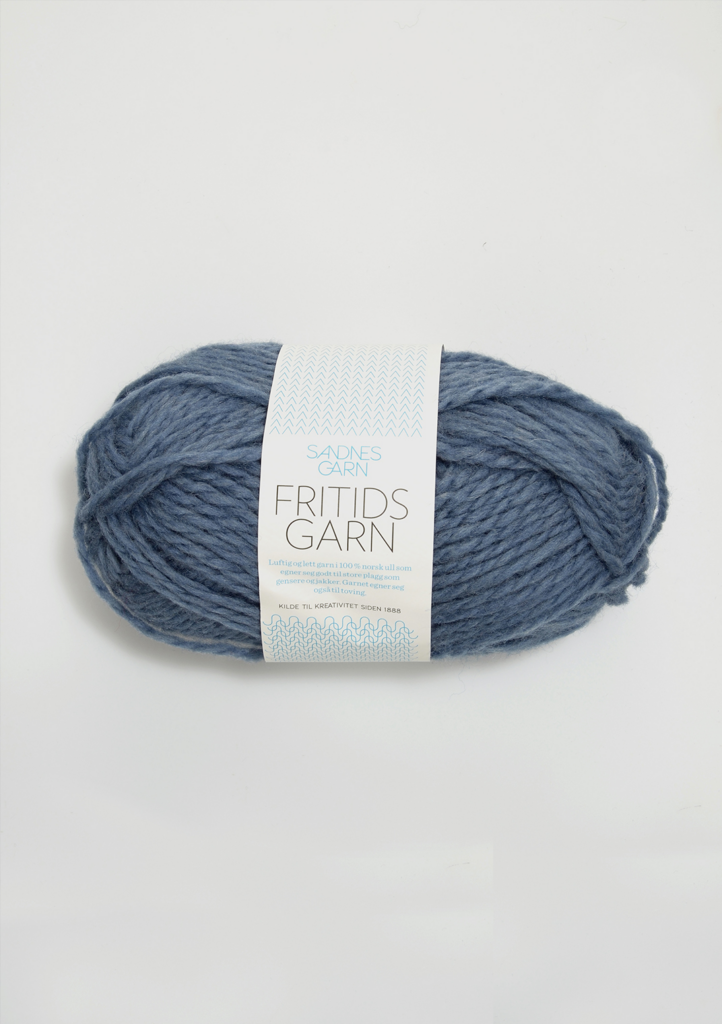
A 100% Norwegian wool that’s slightly toothy in the best way.
It grips to itself, making it a reliable choice for your first (or fifth) steek.
Thicker and loftier than Peer Gynt, this aran-weight yarn is perfect for chunkier colorwork projects.
Great for outerwear or felted steeks.
This heathered 100% wool is soft but still holds together beautifully.
Ideal if you want something with a slightly smoother finish but still plenty of security when it’s time to snip.
Steeking might sound scary, but it’s one of those skills that gets easier once you understand the steps—and the right yarn and support can go a long way.
If you’re ready to try it or just want to see how it’s done, this is a solid place to begin.
And if you’d rather not steek alone, come sit with us. We’ve got scissors and tons of encouragement.