There’s no denying – there’s something satisfying about reaching that final row of a project … until you realize it’s time to bind off and you have to decide how.
With so many ways to finish, the bind-off can feel like a small detail, but it has a big impact on how your project looks, stretches, and wears.
This month, we’re taking a closer look at different bind-off methods — from the classic and sturdy to the polished and professional.
We’ll walk through a few of our favorites, explain when to use them, and share a couple of yarn pairings that make each technique shine.
Why Bind-Offs Matter
Think of the bind-off as your project’s signature — it’s the last thing your hands do before you’re finished, and it determines how your piece looks and feels when worn. Some bind-offs give a clean, firm edge that keeps its shape, while others add stretch or a polished finish. Matching the right bind-off to your project can make all the difference in comfort, fit, and drape.
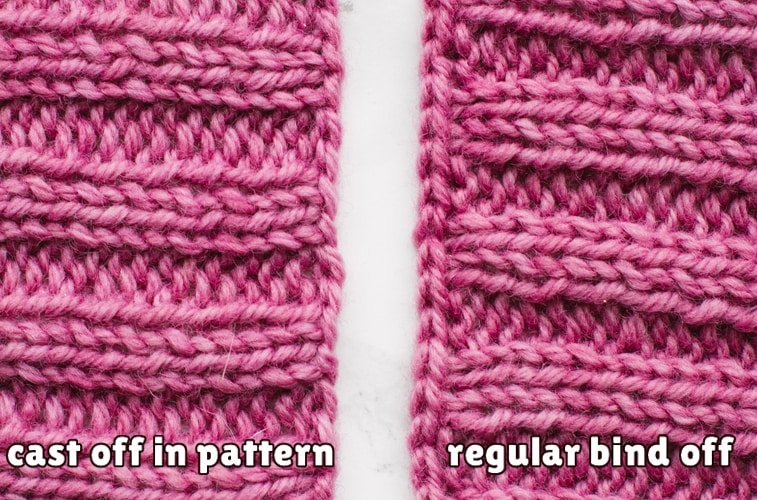
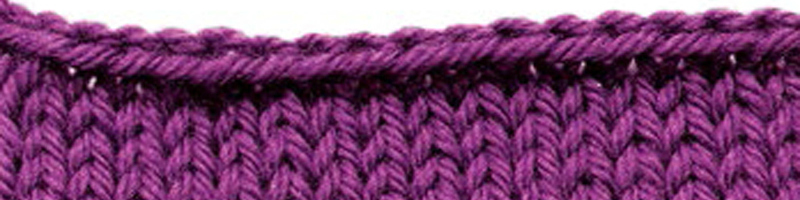
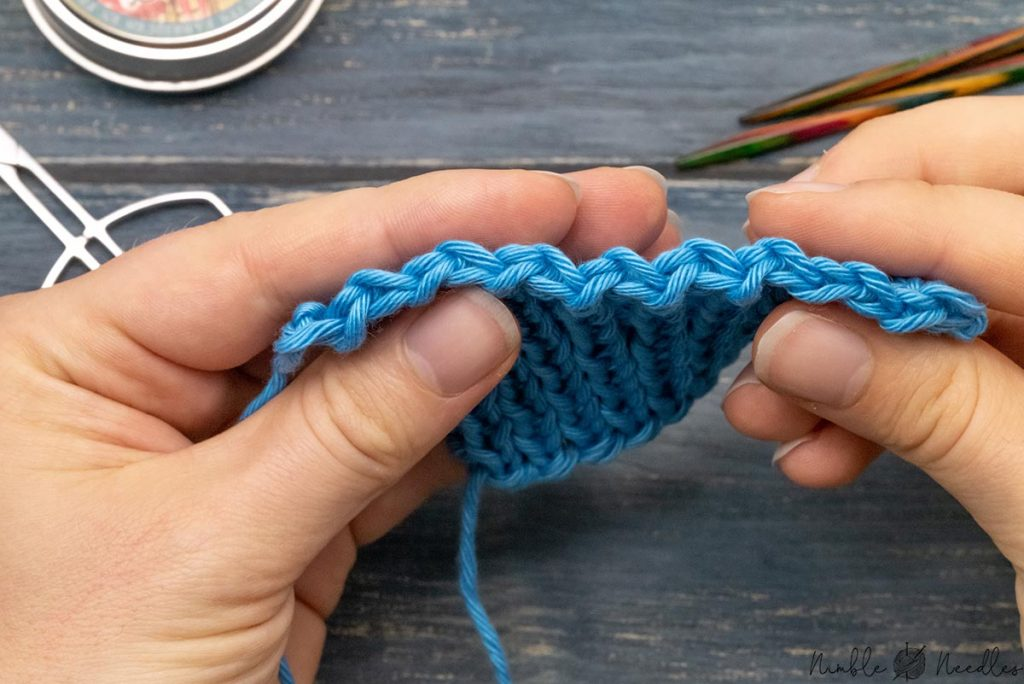
Standard Bind-Off (In Pattern)
This is the tried-and-true method most knitters learn first. You work two stitches in pattern, pass the first over the second, and keep going — easy, tidy, and dependable.
How to do it:
Work two stitches in pattern, lift the first stitch over the second and off the needle, then work one more stitch and repeat.
When to use it:
Perfect for projects that don’t need stretch — like scarves, dishcloths, or blankets — or anywhere you want a sturdy edge that won’t flare.
Tubular Bind-Off
A favorite for creating a seamless, professional look — it makes ribbing look like it just melts off the needles. It’s especially lovely on 1×1 or 2×2 rib.
How to do it:
Start with two setup rows worked in a special pattern (knit the knits, slip the purls with yarn in front), then graft the stitches together using a tapestry needle and a piece of yarn.
When to use it:
Sweater hems, collars, or cuffs that need both structure and softness.
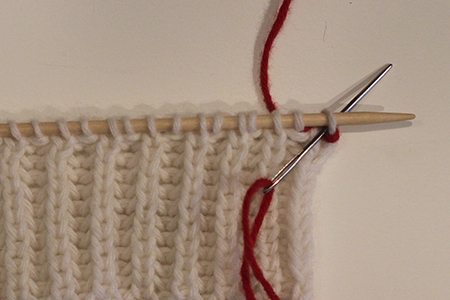
Italian Bind-Off
A sewn bind-off that creates an edge so smooth it looks like the ribbing just keeps going. It’s elegant and worth the extra time.
How to do it:
Cut a long tail (about three times the width of your knitting) and thread it through a tapestry needle.
Knitwise insert into the first knit stitch and slip it off, then purlwise insert into the next purl stitch and leave it on.
Repeat the sequence, weaving the yarn through as if you’re continuing the ribbing pattern.
When to use it:
Cuffs, neckbands, and hems where you want a flexible, invisible finish.
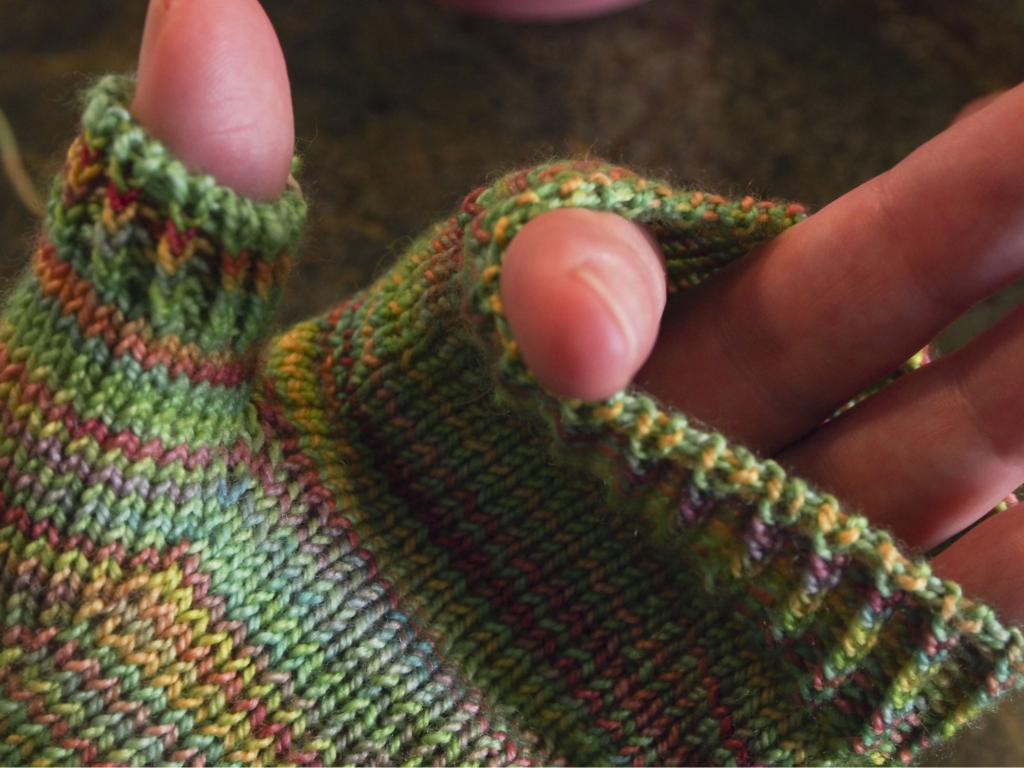
Stretchy Bind-Off (Jeny’s Surprisingly Stretchy Bind-Off)
If you’ve ever struggled to get a sock cuff over your heel, this bind-off is your new best friend. It uses yarn overs before each knit and purl to create a wonderfully elastic edge.
How to do it:
Before each knit stitch, wrap the yarn around the needle backward (a reverse yarn over) and knit as usual.
Before each purl stitch, wrap the yarn forward (a regular yarn over) and purl.
Pass the yarn overs over the stitches as you bind off.
When to use it:
Ideal for ribbing, cuffs, necklines, or anything that needs to stretch and snap back into shape.
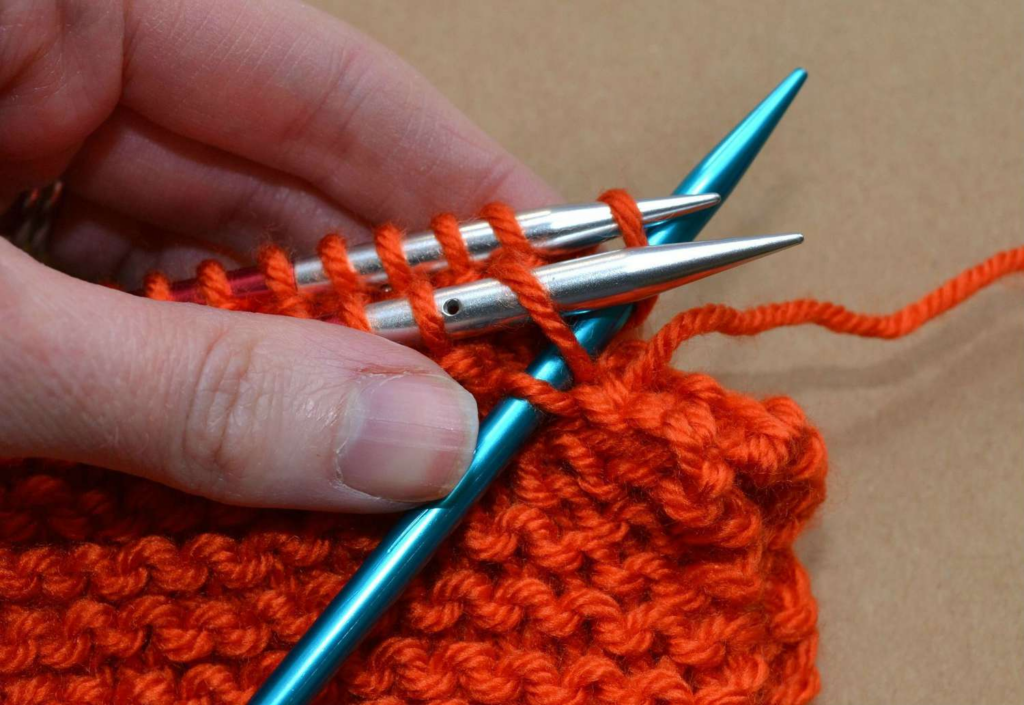
Three-Needle Bind-Off
This one joins two sets of live stitches (like the front and back of a shoulder seam) while binding off at the same time — sturdy and efficient.
How to do it:
Hold both pieces together with right sides facing, insert your needle through the first stitch on each needle, knit them together, then repeat and pass the first stitch over the second as you go.
When to use it:
Shoulders, underarms, or anywhere you want a clean, reinforced join.
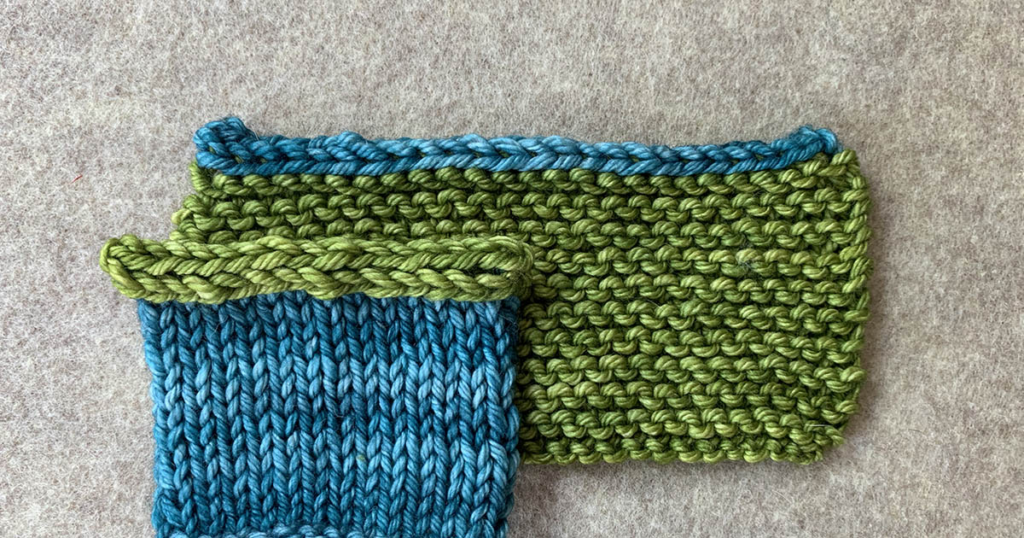
I-Cord Bind-Off
This one adds a decorative rolled edge that feels finished and a little fancy — plus it prevents curling.
How to do it:
Cast on three extra stitches. Knit two, knit two together through the back loop, then slip those three stitches back to the left needle and repeat until all stitches are bound off.
When to use it:
Shawls, blankets, or any edge that could use a bit of structure and flair.
Choosing the Right Edge
A good rule of thumb:
- If the edge needs to stretch, reach for Jeny’s or Italian.
- If you want a decorative finish, go for the I-Cord.
- For ribbing, tubular or Italian will give you that seamless look.
- And if you just want something classic and reliable, the standard bind-off is your friend.
Yarn Suggestions
Finishing Strong
No matter what you’re knitting, how you finish it matters just as much as how you start.
The right bind-off can make your edge neat, flexible, or decorative — and sometimes all three.
Try a few different methods on your next swatch, and you’ll quickly see how much personality those final stitches can add.
If you ever get stuck (or just want to test out a few techniques with friends), bring your project to Open Knit Night on Thursdays from 4–7 pm. It’s the perfect time to experiment, swap tips, and maybe learn a new favorite way to cast off.